Showing posts with label tutorial. Show all posts

Wednesday, April 3, 2013

Cloud Tutorial {TSG}

 I am excited to be here to give you my very first Trend post for TSG! I started to panic coming up with a trend. A couple of thoughts came to mind but I went with creating clouds with copics mostly because I have had numerous people ask..."How do you do that" so I thought this was the perfect opportunity to give a tutorial on a growing "Trend".

I know myself and alot of other people would create a "cloud mask" and stipple some ink down to create clouds. I love that effect..it's simple and easy! Recently I have seen alot of clouds created with copic markers in blogland. It took me a little while to get onboard to the idea. It looked way to difficult and I am all about easy!! A couple of weeks ago I was hanging out with some amazing and talented ladies and I was too embarrassed to pull out the ol' mask because I had so many stamping rockstars around me. So I made my own clouds with copics and guess what....it was easy!!

So rather than tell you how, I thought I would show you how. Now bare with me, this is literally my 2nd video EVER! I am still learning, but I think you will get the idea of how to do it. As time goes on, I do hope to improve my video skills. I hear iMovie on a Mac is the best and easiest. I haven't convinced my husband that I NEED to buy one yet. He is deadset against it!! sniff, sniff. So windows movie maker it is....

Here is a video tutorial on how I make clouds using my copic markers.


This weeks challenge over on TSG is masculine projects. Here is the card that I made using my COPIC CLOUDS!

 
Thanks for stopping by and hope you enjoyed my first crappy video! haha


Pin It

Wednesday, February 27, 2013

Cuppa Mae and a Box Tutorial....

I don't know about you all, but I am a Pinterest addict! I love going there for all sorts of inspiration. Especially crafty ideas and recipes!! Awhile back ago I found this simple box by Cosmo Cricket made from a 12x12 piece of cardstock.  They have a video tutorial available. I did a photo tutorial which I happen to like because I don't have to pause in between steps!!

 Get your scor-board out!!


Score your paper at 3" and 9", then turn...


Score the other side at 5" and 7".
 
Crease the score lines.

Here is where it gets a little tricky.  You have to bring the center out to the sides like this...
 
 
After you do all 4 sides, you will end up with something that looks like the below:


Unfold and add a strong adhesive such as Scor-tape, ATG, etc.

Add tape to all 4 locations as shown:

Adhere.
 
You should have something now that looks like this:
 
 
Now it's time for the fun stuff. You can decorate the outside as you wish. Be sure to add a flap to it so you can close the box easily.


I used Cuppa Mae from Some Odd Girl. Colored with my copic markers. The paper is from Bo Bunny.
 
Thanks for stopping by.
Tracy


Pin It

Tuesday, February 14, 2012

Just Because - TGF

**Second post today...scroll down for my post from magnolia-licious!

Today is my day over on The Greeting Farm blog!  I have an easy tutorial to demonstrate how I fix unclear stamped images.
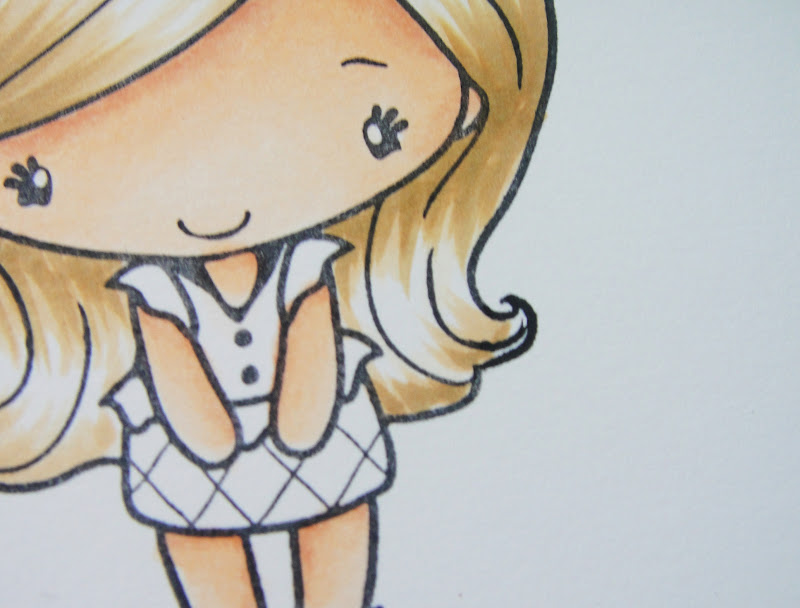
When I stamped up Simply Anya, a little part of her hair didn't come out. I hate throwing images out, so if it is a small area I will fix it.

I use a Copic Multiliner. They come in different size tips. For these I usually use a .7 or .5.

Lightly draw the missing area in.

Afterwards color as you normally would. You should not get any smearing using the Copic Multiliner with your copic markers. However, if you do, you may want to try to heatset it.

I stamped the back of my card using the Made By set! 


Copic colors used:
Hair: E50, E51, E53, E33
Skirt: RV10, R81, R83, R85
Shirt: YG11, YG13 and YG17
Skin: E000, E00, E11

Challenges:
Ladybug Crafts - Spring is in the Air
My Craft Spot - Girly Girl
One Stitch at a Time - Anything Goes


Pin It

Tuesday, January 24, 2012

You're the best and a Tutorial!

Quickie post for me today. I am showcasing a simple tutorial on The Greeting Farm Blog today.
 I used Simply Anya and I just adore how versatile she is and fun to color! 
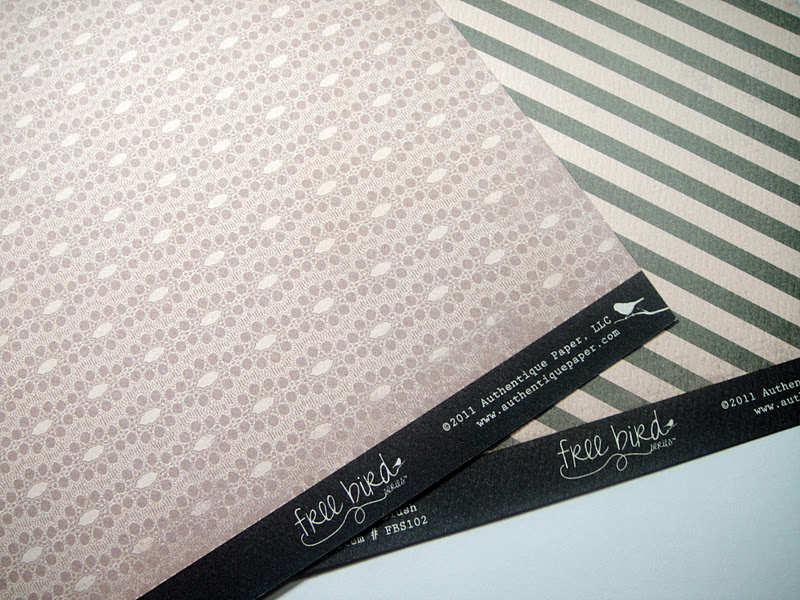
I grabbed these fabby papers rom my LSS awhile back ago. I love gray and pink together, always have. However this gray is not your standard gray and besides that I didn't have any gray ribbon or lace. So I used my handy little copics to color it to match my papers.

These papers are by Authentique and are part of the "Free Bird" collection.

I grabbed my W4 copic because that is what I used to color up my sweet "Simply Anya"

You don't have to worry about every nook and crannie, the ink will spread and fill in some areas for you.


Here is the finished product perfectly matched to my papers.
Thanks for stopping by and stop by The Greeting Farm Store to pick up your Simply Anya!

Pin It

Saturday, September 25, 2010

Fabric Flower Tutorial

****This is my 2nd post today - Scroll down or click here for the Happy Fall Magnolia Card ****

In the post below I used a fabric flower. I thought, I would do a quick step by step tutorial on it. I was going to do a video, but truth be told, I am not video savvy. So a photo step by step it is!! Here ya go:


What you need:
1. Beacon Fabri-Tac (I have tried other fabric glues for various projects, this one works great!! You can find it in your local craft stores.
2. Approx. 2 in. circle or scallop punch works fine too
3. Fabric - I bought fabric quarters. They are 18" x 21". I cut it into strips 1 1/4" x 21" long.
4. Button, large brad or gem


Start by tieing a knot at one end, as close as you can get to the end of the fabric strip. Trim off excess fabric, leaving the knot and the long tail.

 In the middle of your circle, put a dab of fabri-tac glue.
 Place your knot in the center of the circle and hold for a few seconds or until in place enough so you can work with it. 
 Add glue around the knot.  A little goes a long way!
Hold your fabric up and out and start twisting the fabric. While twisting the fabric start laying the twisted part down around your knot. Don't worry about the frayed edges or if the "underside" of the fabric shows through. Thats part of the character of the flower.
Keep adding glue as you go around. I twist my fabric kind of firmly. Not to tight, but it wasn't loose either. 


 When you get to the end you will do one of two things. Run out of fabric or run out of cardstock!  If you run out of fabric just kinda tuck in the end and add some glue so that it holds. Don't worry about the cardstock. Just trim it off. You won't see the backside.  If you run out of cardstock, just snip away your excess fabric and glue.  

 When you are all done, this is what your flower should look like. Wouldn't these make cute lollipops too?
 Add a gem, large brad or button to the center.
 You can make different types of leaves to finish it off. You can use green ribbon and loop like below. Or use a handy Martha punch and punch out your leaves!


Thats it! I hope this made sense! It's my first tutorial I have ever done. Also, don't mind those inky, gluey fingers! LOL  I had been stamping all morning.  If you make these you will find out quickly how much glue you will wear too!!

Thank you for looking and you check out the post below for anther one of these on my little Tilda with Autumn leaves card!

LinkWithin

Related Posts Plugin for WordPress, Blogger...
01 09 10